Practical travelers with extra luggage need a different checklist for Seoul to Osaka flights than light-packers. The immediate, practical answer: pick an itinerary that reduces handling (direct or single-carrier connections), buy the correct baggage allowance in advance, and add at least 90–150 minutes of extra airport time depending on your airports and transfer method. Before you check fares, confirm exact travel dates, the number and size of bags, and whether you’ll need special handling (oversize, sports equipment, or musical instruments). With those details you can compare routing, baggage fees and rules, connection risk, and schedule fit. Below are clear tradeoffs and step-by-step choices to help you decide whether to prioritize lowest fare, shortest door-to-door time, or the smoothest baggage handling on this short international route.
See live routes for your exact travel day
Compare direct and connecting choices with the same baggage and traveler details.
Routing: direct versus connecting itineraries
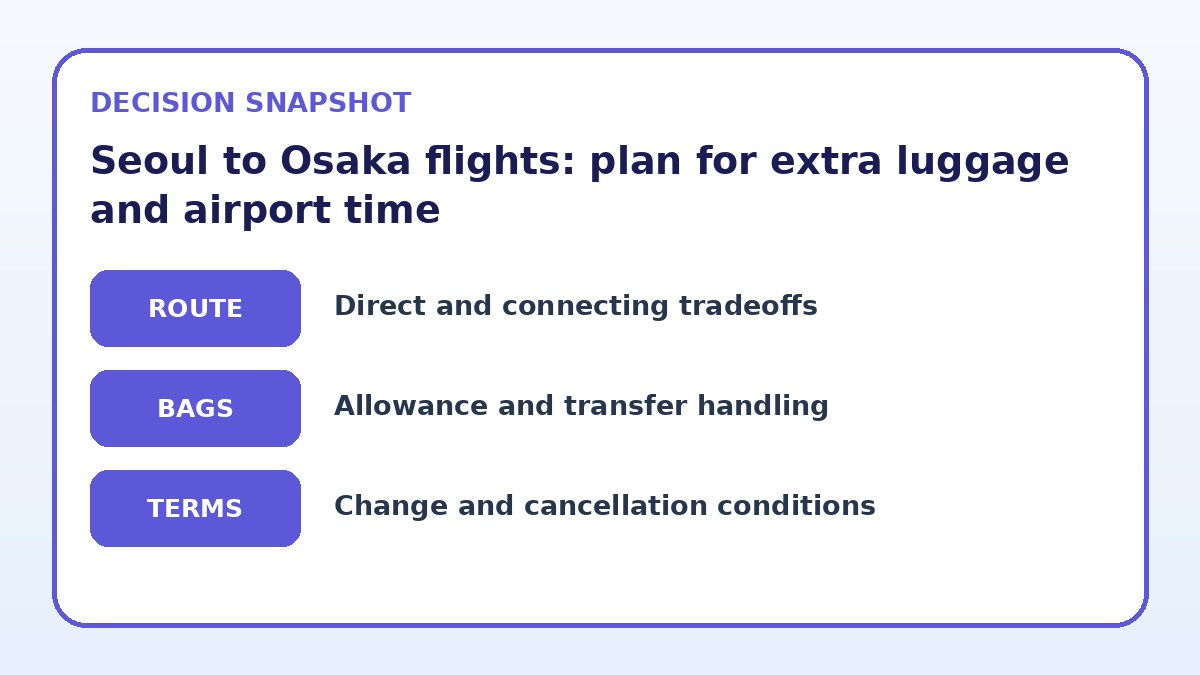
Routing choices shape every other decision for travelers with extra luggage. A nonstop or same-airline single-connection itinerary typically reduces the number of times your bags move between handlers. That lowers the chance of damage, misrouting, or missed transfers, especially when you have heavy or awkward items. Compare direct flights first, then same-carrier connections; if a connecting itinerary is runway-limited or requires a tight transfer, it can turn a cheaper fare into a logistical headache when you must move large bags between terminals.
When direct schedules are infrequent or more expensive, a connecting option may still be sensible if the connection is long enough and both segments are on a single ticket. If you consider separate tickets or different airlines, assume you will have to collect checked luggage at your arrival airport and recheck it before the onward flight. That adds customs, security, and possible inter-terminal transit time—so route selection should weigh fare savings against the extra physical effort and time your baggage will require.
Baggage and connection risk: how to limit problems
Start by cataloging each bag: dimensions, weight, and whether any item is oversized, fragile, or requires special handling. When comparing options, find the exact checked-baggage allowance and the overweight/oversize policy on the carrier’s final booking page—these policies vary by fare class and market and will determine whether you need to pay for extra pieces in advance. For connecting itineraries on the same ticket, check whether both segments allow the same free allowance; mismatched rules can create unexpected fees at the gate or transfer desk.
To reduce connection risk, build slack into your schedule: aim for longer minimum connection times than the airline’s bare minimum when you must move large bags between gates or terminals. If a connection requires changing airports or terminals, treat it like a new arrival: collect bags, clear customs if required, and transfer to the next terminal well before the airline’s recheck cutoff. For high-value or fragile items, consider protective cases, clear labeling, and photograph contents before travel to speed any claims process should damage occur.
Compare flight-selection strategies
| Flight strategy | Best for | Risk to check |
|---|---|---|
| Book a nonstop flight with checked-bags included | Travelers prioritizing minimal handling and simplest door-to-door time | May cost more upfront and have fewer schedule options on desired dates |
| Choose a same-carrier connecting itinerary on one ticket | Those who want more schedule options but still keep baggage checked through | Connections add time and potential delay exposure even though bags stay on the ticket |
| Buy separate tickets for cheapest segments and self-transfer | Price-sensitive travelers willing to manage baggage and accept added time | High risk of needing to reclaim and recheck bags, plus no protection for missed connections |
| Pay for extra or oversized baggage in advance across any itinerary | Travelers with heavy or special items who want predictable fees and handling | Higher upfront cost; you must still confirm handling procedures and arrival timings |
Recheck the complete itinerary
Confirm airports, connection handling, baggage, and change conditions before deciding.
Schedule fit: airport arrival, transfers, and timelines
The number of bags you have changes how early you should arrive. For Seoul departures, factor in peak-hour congestion, dedicated oversized-item handling counters, and whether you’ll use curbside check-in or a bag-drop kiosk. For Osaka arrivals, consider which airport you’ll use and how you’ll transfer onward—some international-to-domestic transfers, or transfers to city rail, require extra time. When planning, check the carrier’s recommended check-in cutoff and add a safety buffer for oversized-bag processing, which can take longer than standard check-in.
If you have a tight onward appointment or transit, build in contingency time for delayed baggage handling or longer security lines. For same-airline connections, verify transfer assistance options that may expedite baggage movement. If traveling between airports or terminals, research the most reliable transfer mode (train, shuttle, taxi) and add 30–90 minutes depending on distance, traffic patterns, and whether you need to clear immigration and reclaim luggage. Always confirm on the airline booking page whether your itinerary includes any minimum connection time warnings.
Flight details to verify
- List each bag’s exact weight and dimensions and photograph contents and labels.
- Confirm checked-baggage allowance and overweight/oversize charges on the airline’s booking page for every flight segment.
- Decide on nonstop, same-carrier connection, or separate-tickets and note the resulting baggage process for each.
- Add at least 60–120 minutes to recommended check-in times for oversized or fragile baggage processing.
- If transferring between terminals or airports, research the transfer method and add 30–90 minutes for transit and recheck.
- Purchase extra-baggage allowance online before arrival and print or download confirmation to present at check-in.
Fare conditions and booking checklist before you buy
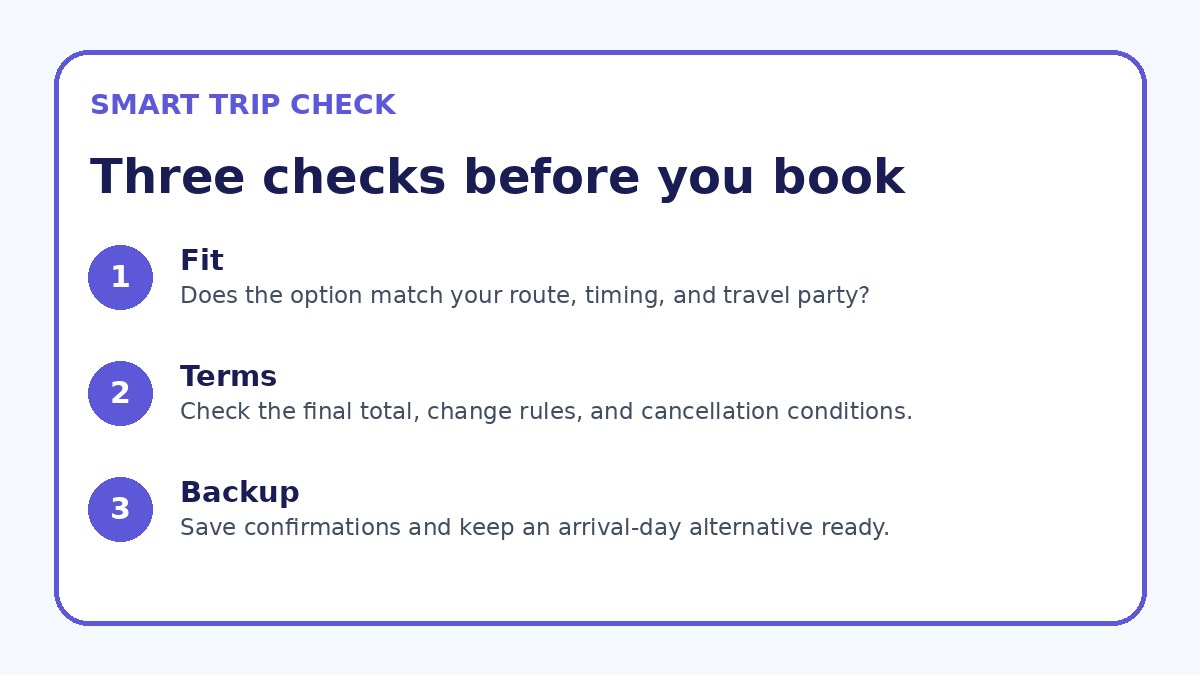
Fare class influences more than seat selection: it often dictates baggage allowance, change and refund terms, and how the airline treats irregular operations. Before booking any Seoul to Osaka flights, prepare the exact travel dates, the total number of travelers, and a precise list of bag weights and sizes. Use those details on the airline’s final booking page to confirm baggage allowances for each flight segment, the fee for extra pieces, and whether advanced purchase of extra baggage is possible and cheaper than airport fees.
Also confirm change and rebooking rules that matter if you may need to alter flights because of baggage issues or missed connections. If you rely on connecting through a partner airline, verify that the trip is ticketed on one record and that baggage is checked through to the final destination. If you plan to compare options on an aggregator like Trip.com, use it as a starting point but verify allowance, transfer rules, and any ancillary fees on the carrier’s official page before completing payment.
Flight Guide questions travelers ask
How early should I arrive at the Seoul airport when I have multiple heavy suitcases?
Aim to arrive earlier than the standard recommendation. For multiple or heavy suitcases, allocate extra time for curbside assistance, oversized-bag inspection, and any queue for special handling. If you’ve pre-purchased baggage allowance, you still should arrive early enough to allow staff to tag and process each item and to clear security. Also factor in the distance from your arrival point to the airline’s check-in or bag-drop counter and any expected peak-hour congestion at the terminal.
Will my checked luggage be automatically transferred if I book connecting Seoul to Osaka flights on different carriers?
Not necessarily. If both segments are on a single ticket and the carriers have an interline agreement, the airline may transfer checked luggage for you. When segments are on separate tickets or different carriers without partnership, plan to collect bags and recheck them yourself. Always verify the ticketing status and baggage transfer policy on the airline’s final booking page or at the ticket counter before you assume bags will be moved automatically.
What special preparations help if I’m transporting sports equipment or oversized items to Osaka?
Before booking, check the carrier’s specific policy for sports and oversized items on its booking page. Reserve and pay for any special handling or oversized allowances in advance if possible, and use hard cases or padded bags for protection. Label items clearly, attach contact information, and consider removing loose parts that could be damaged. Finally, arrive with extra time to complete any declaration forms or inspections that oversized baggage may require at check-in.
Final decision note
Travelers with extra luggage on Seoul to Osaka flights benefit most from planning that treats baggage as a separate project: decide routing first, confirm baggage allowances on the carrier’s booking page, and build extra airport time into both departure and any transfer legs. Prioritizing nonstop or same-carrier tickets reduces bag handling; buying allowances in advance keeps fees predictable. If you must self-transfer on separate tickets, assume you’ll reclaim and recheck bags and add significant buffer time. Prepare exact dates, traveler counts, and bag details before you search live fares so you can compare real allowance terms, connection times, and change rules on the official booking pages.
Continue planning
Check current options and final conditions
Use the provider page to confirm live availability, the final total, cancellation terms, and every condition that matters to your trip.
This evergreen planning guide was created with AI-assisted drafting and a structured quality review. It does not display live prices, schedules, availability, visa guidance, or provider rankings. Verify current details before booking. Some links are affiliate links; we may earn a commission at no additional cost to you.