Practical answer first: if you want the most comfortable Toronto to Vancouver journey as a first-time visitor, prioritize a direct flight when possible or a single well-timed connection with the same carrier and an ample connection window. Book a fare that includes checked baggage if you need it, sit toward the front of the aircraft for quicker exits, and target departure times that match your preferred sleep and activity schedule. Before you search, decide exact travel dates, traveler ages, baggage needs, and any mobility or special-assistance requirements — that information changes which routes and fares are usable. This guide walks through the route-versus-fare tradeoffs, how to judge baggage and connection risk, schedule-fit strategies, and which fare conditions to scrutinize so your first long-haul connection feels calm and predictable.

See live routes for your exact travel day
Compare direct and connecting choices with the same baggage and traveler details.
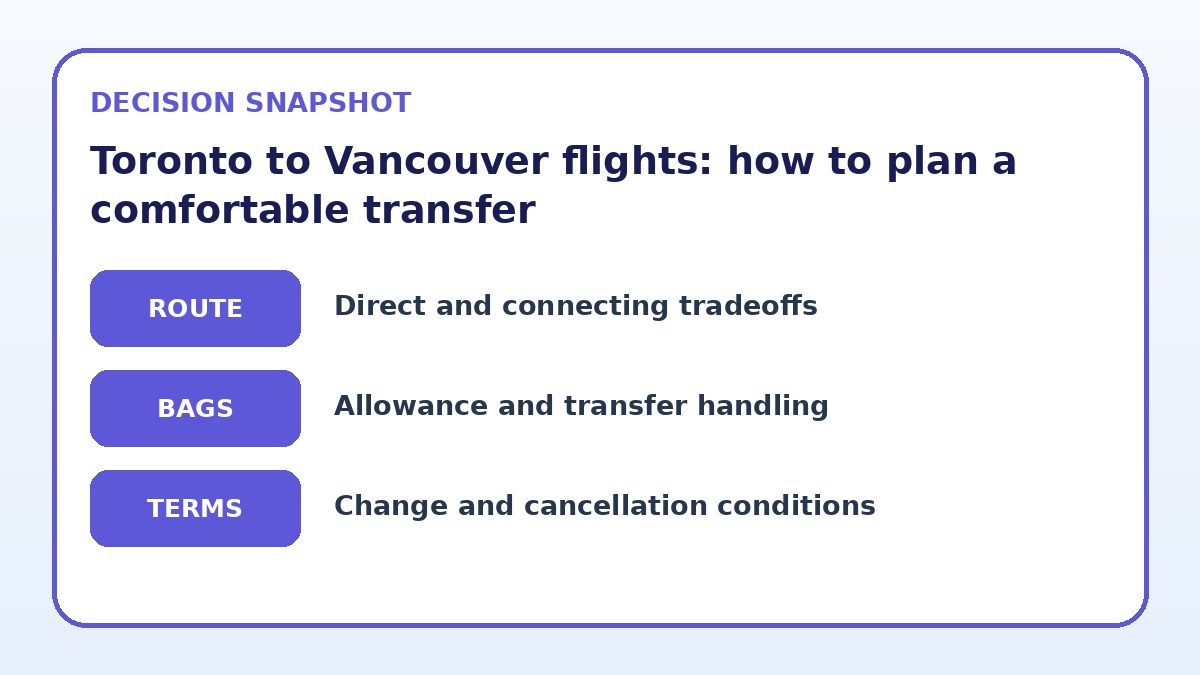
Routing: direct vs connecting on the Toronto–Vancouver corridor
Most travelers face a clear tradeoff: direct flights reduce complexity, while connections sometimes lower the fare or provide better departure times. A direct flight means you avoid transfer logistics, baggage reclaims, and the risk of missing a tight connection, which is especially valuable for first-time visitors unfamiliar with Canadian airport layouts. If direct schedules are inconvenient, a single connection with a comfortable buffer can still be less stressful than multiple hops. When comparing options, list your absolute constraints first — e.g., must arrive by evening, need morning departure — then see which combination of direct or one-stop itineraries fits those constraints without extreme layovers.
If you opt for a connecting itinerary, prioritize connections operated by the same airline or partners on one ticket. That arrangement typically protects you if the first sector is delayed and forces a rebooking; you’ll also often remain on through-checked baggage, avoiding an extra pick-up and recheck. Evaluate connection airports and typical transfer times: some hubs require longer walks or additional security checks. Make a chart of candidate routes showing total trip time, number of transfers, and required minimum connection time so you can compare comfort against savings objectively.
Baggage and connection risk: how to avoid lost time and lost bags
Decide before booking whether you need checked luggage and whether you’re comfortable re-checking it during a connection. If you plan to bring checked bags, a single-ticket itinerary on one airline or an alliance generally ensures bags are transferred automatically; with separate tickets you may have to collect and re-check luggage yourself, which increases connection time and stress. Also check each fare’s included baggage allowance — some lower fares exclude checked bags and will add cost at checkout. For fragile or essential items, consider carry-on-only or a small checked bag with tracking tags and a lock.
Connection risk rises with tight layovers, terminal changes, or separate-ticket combinations. To reduce risk, build a buffer into your schedule: aim for at least 60–90 minutes for same-terminal domestic transfers and 90–150 minutes if you need to change terminals, collect baggage, or clear security again. Check airport maps in advance and factor in mobility needs or traveling with children. Finally, verify the airline’s rebooking policy on their final booking page: know the steps the carrier will take if you’re delayed, and save emergency contact numbers and the reservation reference in multiple places.
Compare flight-selection strategies
| Flight strategy | Best for | Risk to check |
|---|---|---|
| Book a direct flight | Travelers prioritizing simplicity and lowest connection risk | Often fewer schedule choices and sometimes higher fares or unavailable times |
| One-ticket connection with same carrier | Those wanting mid-range fares with transfer protection | Requires checking connection windows and potential terminal changes |
| Separate tickets to lower cost | Flexible, budget-conscious travelers willing to manage transfers | Higher baggage and missed-connection risk; extra time needed for recheck |
| Flexible or refundable fare purchase | Travelers with uncertain plans or strict timing needs | Higher upfront cost but reduced stress for schedule changes |
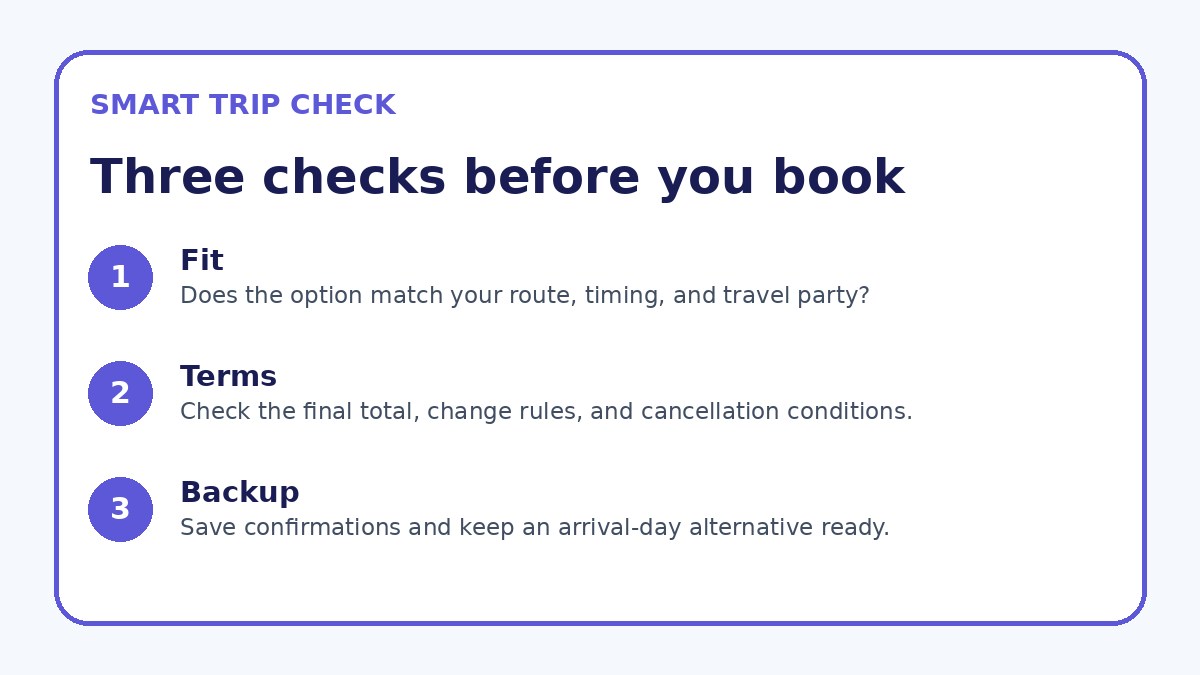
Recheck the complete itinerary
Confirm airports, connection handling, baggage, and change conditions before deciding.
Schedule fit and traveler comfort: pick times that reduce fatigue
Match flight times to how you handle travel. Morning departures often avoid delays and give you more of the day at your destination, but early starts can be hard if you’re not an early riser. Late-afternoon or evening departures may let you sleep on the aircraft and arrive rested; however, they can conflict with ground transport availability or hotel check-in. Consider your in-flight sleep strategy (use of sleep aids, noise-cancelling headphones, seat selection) and whether you need to sync arrival with local check-in or daylight hours for easier navigation to your accommodation.
Seat choice affects comfort and connection speed: aisle seats ease bathroom trips and quick exits, while window seats are better for uninterrupted rest. If you require more legroom or want to minimize sleep disruption, consider bulkhead or exit-row seats where permitted, but verify rules on the carrier’s booking page for eligibility. Also factor in pre-flight routines: allow extra time in Toronto for check-in and security during peak hours, and ensure you’ve arranged onward ground transport in Vancouver so you don’t face additional delays after landing.
Flight details to verify
- Write down exact travel dates, full traveler names, dates of birth, and preferred seat types before searching fares.
- Decide if you need checked baggage and check the fare’s included allowance on the carrier’s final booking page.
- If choosing a connection, allow at least 60–90 minutes for same-terminal domestic transfers and longer for terminal changes or baggage recheck.
- Confirm whether your itinerary is on one ticket; if not, plan for baggage pickup and recheck time at the transfer airport.
- Select seats with your comfort and exit speed in mind; verify seat assignment rules and fees during booking.
- Save the airline contact number, reservation reference, and trip details in two places (phone and printed) before departure.
Fare conditions and booking prep: what to confirm before you click buy
Before booking, collect exact traveler details (full legal names, dates of birth, mobile numbers, and frequent-flyer numbers) and concrete travel dates. Review fare conditions carefully: look for baggage inclusion, change and cancellation fees, refundability, and the carrier’s policy on missed connections. Some low-fare tickets are non-changeable or carry high fees; if your schedule may shift, paying a bit more for a flexible fare can prevent expensive rebooking later. Also check seating rules and whether seat assignments are included or incur extra charges.
When comparing options, open each airline’s final booking page and verify the total cost, baggage allowance, and transfer protection text before completing payment. If the itinerary combines different tickets, check whether through-checking baggage is offered and what happens if a delay causes you to miss your next flight. Use saved search details to match exact dates and passenger counts across booking sites; Trip.com can be one place to compare live availability, but always verify rules and final totals on the carrier’s confirmation page before accepting any terms.
Flight Guide questions travelers ask
How do I decide between paying more for a direct flight or saving with a connection?
Start by listing your non-negotiables: preferred arrival window, mobility needs, and whether checked baggage is required. If minimizing stress and transfer complexity is worth the extra cost, a direct flight is usually the better option for first-time visitors. If budget or specific departure times matter more, compare one-stop itineraries on a single ticket that include baggage transfer protection. Always check connection durations, terminal layouts, and the airline’s rebooking policies on the final booking page to understand the real risk behind any savings.
What if my connection is tight or the first flight is delayed?
If both flights are on the same ticket, the airline typically rebooks you on the next available flight and handles baggage transfer issues; check the carrier’s conditions to confirm process and any local assistance. If you booked separate tickets, you are usually responsible for delays and rebooking, so build a larger buffer and consider travel insurance that covers missed connections. Before departure, note alternative flights for potential rebooking and save airline customer-service contacts so you can act quickly if there’s a delay.
Which departure and arrival times reduce overall travel fatigue?
Choose departure times that align with your usual sleep pattern: morning flights help avoid day-of delays and give you more daytime at your destination, while evening flights can allow onboard sleep and a smoother transition to local time. Also match arrival times to ground transport and accommodation check-in windows to prevent long waits after landing. Factor in time needed for airport procedures at both ends—arriving at a convenient hour reduces stress and lets you reach your first-night accommodation more comfortably.
Final decision note
For first-time visitors, planning a comfortable Toronto to Vancouver flight is about balancing convenience, cost, and risk. Start by deciding whether simplicity (direct flights) or savings (connections) matters more to you, then lock in traveler details and baggage needs before shopping fares. Favor single-ticket connections if you must transfer, allow realistic buffers for baggage and terminal changes, and read fare rules for change and baggage carefully on the carrier’s booking page. Use seat choice and departure timing to manage in-flight rest and arrival energy. Finally, compare options on multiple platforms — Trip.com can be one place to check availability — but always confirm final rules, baggage inclusion, and total price on the airline’s confirmation screen before you pay.
Continue planning
Check current options and final conditions
Use the provider page to confirm live availability, the final total, cancellation terms, and every condition that matters to your trip.
This evergreen planning guide was created with AI-assisted drafting and a structured quality review. It does not display live prices, schedules, availability, visa guidance, or provider rankings. Verify current details before booking. Some links are affiliate links; we may earn a commission at no additional cost to you.