If you’re traveling from Seoul to Tokyo with oversized bags, sports equipment, or more suitcases than usual, your priority is to match an itinerary with baggage rules and realistic airport time. Start by deciding whether a direct flight or a connection reduces handling steps: direct flights usually mean fewer hand-offs, while connections sometimes offer cheaper fares but increase the chance of delays affecting checked baggage. Before you search, gather exact travel dates, passenger details (including frequent flyer status), and full baggage dimensions and weights. That enables accurate fee checks and seat/baggage availability on provider pages. This guide focuses on organizing baggage and airport time so you can compare routing, baggage/connection risk, schedule fit, and fare conditions and then book confidently.
See live routes for your exact travel day
Compare direct and connecting choices with the same baggage and traveler details.
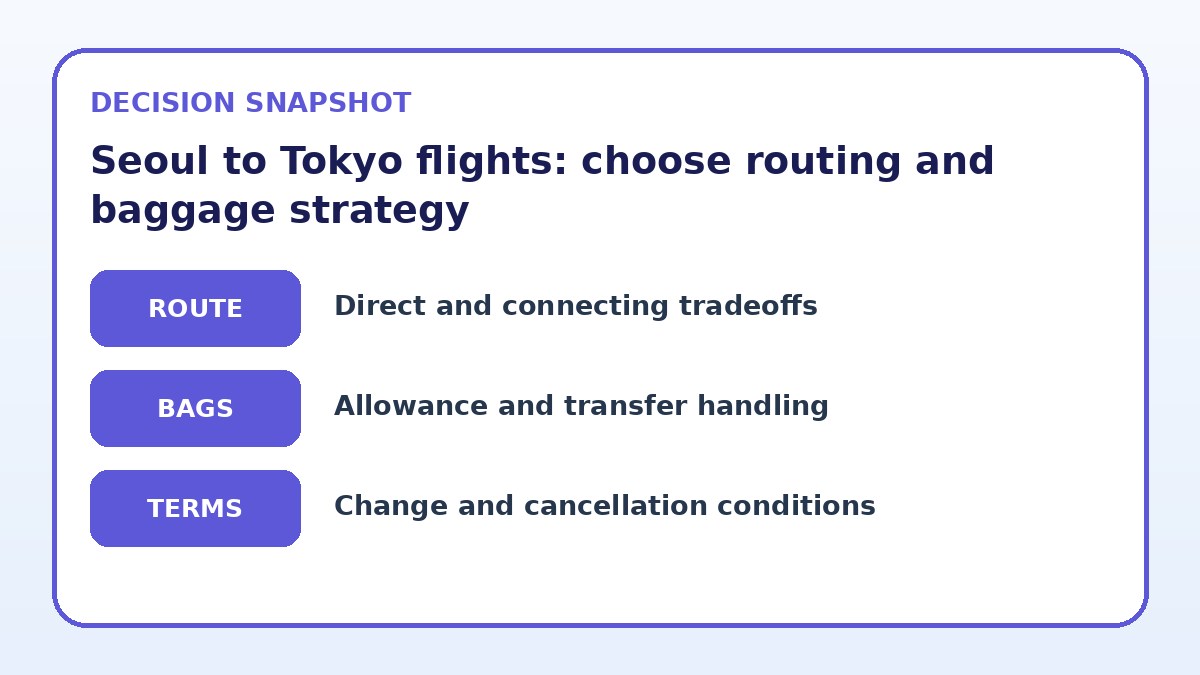
Routing: direct versus connecting options
For travelers with extra luggage, routing is the first practical decision. Direct flights between Seoul and Tokyo typically keep your checked bags on a single aircraft and limit the number of times staff must handle bulky items. That reduces the chance of mishandling and the time you need to spend collecting and re-checking bags. However, direct flights can be less frequent at specific times of day, and if your dates are rigid you may find better schedule matches with a single-connection itinerary.
Connecting itineraries sometimes provide more schedule choices and lower base fares, but they add risk and time when you’re carrying extra baggage. Connections may require you to re-check bags, pass through transfer security, or even clear immigration depending on the airport and ticket type. When comparing options, check whether the connection is on the same ticket (single PNR) so the airline will transfer bags for you, or if you must collect and re-check them yourself—this is the key difference for travelers with bulky items.
Baggage and connection risk: what to verify
Before booking, confirm the exact baggage allowance and restrictions shown on the airline’s final booking page. Look for itemized limits: number of pieces, weight per piece, and linear dimensions or specific length limits for equipment. Also read the carrier’s policy for special items like sports gear, musical instruments, or oversized boxes. Policies differ: some airlines treat these as checked baggage with fees, others require advance notice or a cargo booking. Don’t rely on summary fare pages; fees and rules at checkout are what you will be charged or required to accept.
For connecting flights, check baggage transfer rules and minimum connection times published by the carrier or the airports involved. If your itinerary is on one ticket and the airline guarantees through-checked bags, the transfer risk is lower—but you still face the risk of short connections. If connections involve separate tickets, you may need to claim baggage and check it again, which requires extra time and a clear plan for transport between terminals or through immigration. Verify whether customs or quarantine inspections can affect your transit, especially for certain goods or large equipment.
Compare flight-selection strategies
| Flight strategy | Best for | Risk to check |
|---|---|---|
| Direct flight, higher base fare | Travelers prioritizing minimal handling and simple transfers for bulky items. | Often fewer schedule options and potentially higher base fare once other fees are excluded. |
| Single-connection on one ticket | Those seeking more schedule choices while retaining through-checked baggage protections. | Adds a touch of transfer risk and usually requires a longer minimum connection time. |
| Separate tickets with a connection | Price-sensitive travelers willing to manage baggage collection and re-checking. | Higher risk of missed connections or having to move large items between terminals yourself. |
| Book flexible fare or add-on insurance | Travelers with expensive or fragile equipment who want flexibility if plans change. | Increases upfront cost but reduces the financial risk of date changes or lost/damaged baggage. |
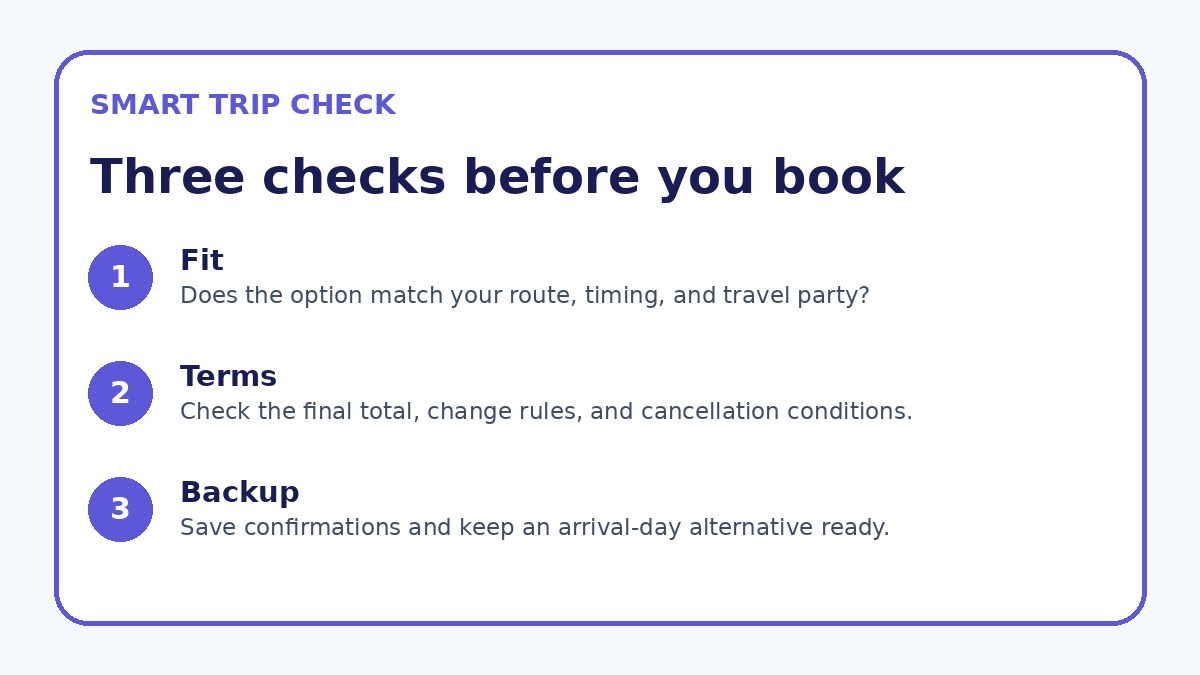
Recheck the complete itinerary
Confirm airports, connection handling, baggage, and change conditions before deciding.
Schedule fit and airport time planning
Allocate airport time based on the nature of your baggage and the airport you’re using. For heavy or oversized items, add extra time for special-handling procedures and for staff to measure or re-tag items. At Seoul’s airports, look up which terminals handle international flights and where oversize/baggage service desks are located; at Tokyo airports, note where oversized-baggage retrieval or transfer counters operate. Arrive early enough to complete check-in, oversized item processing, and security without rushing—your check-in window may be earlier than the standard recommendation.
If you have a tight connection, build contingency time for delays and for any re-checking processes. Factor in time for customs if you must clear immigration during transit, and allow extra time when traveling during busy holiday periods. Consider booking the earliest possible flight that still leaves you a comfortable margin before any onward commitments. Use published recommended minimum connection times as a baseline, then add a buffer tied to how many pieces you have and whether any of them require special handling.
Flight details to verify
- Record exact trip dates, passenger names as on passports, and passport numbers before searching live fares.
- Measure and weigh every piece you plan to check and photograph special items for insurance and claims.
- Confirm baggage allowance, oversize rules, and fees on the airline’s final booking page before accepting the fare.
- If connecting, verify whether your itinerary is on one ticket and whether checked bags will be through-checked.
- Plan airport arrival times that include special handling: factor in extra queue time for oversized or special-item check-in.
- Pack a carry-on kit with essentials and fragile-item protections in case a checked bag is delayed or inspected.
Fare conditions and preparing to book
When comparing fares, separate the base price from total door-to-door cost including checked baggage fees, oversize charges, seat assignments, and change/cancellation rules. Some fares look cheaper until you add the cost of multiple checked items or oversize handling. Make sure the fare class you select actually allows the number and type of bags you plan to bring; low-fare classes often restrict or exclude checked baggage, forcing higher ancillary fees at checkout.
Prepare exact dates, passenger names, passport details, and precise baggage dimensions and weights before you pull up live options. That lets carrier websites and third-party sites calculate final fees correctly. On each booking page verify: included baggage allowance, fees for extra pieces or oversize items, whether the itinerary is on a single ticket for checked-baggage transfer, and change/cancellation terms. You can check availability on comparison sites such as Trip.com, but always confirm baggage and fare conditions on the airline’s final booking screen before paying.
Flight Guide questions travelers ask
How much extra time should I allow at Seoul departure airports when checking oversized luggage?
Allow additional time beyond the standard check-in window because oversized items often require manual handling, measurement, and special tagging. For oversized or sports equipment, consider arriving earlier to complete paperwork, pay any necessary fees, and let ground staff move the item to the appropriate handling area. If you are unfamiliar with the terminal layout, add extra time for locating the oversized baggage or special services desk. Always confirm the carrier’s recommended arrival time for special baggage on their website.
If my Seoul to Tokyo itinerary includes a connection, how can I reduce the risk to my checked bags?
Book itineraries on a single ticket so the airline is responsible for transferring checked baggage between flights. Verify at booking that both segments are under the same PNR and check the airline’s transfer policy. Choose longer connection windows that allow time for any terminal changes or delays. If you must buy separate tickets, pack fragile or important items in your carry-on and be prepared to collect and re-check luggage yourself; check immigration and terminal transfer procedures in advance.
What documentation or checks apply for special items moving between Korea and Japan?
Special items such as professional gear, large sports equipment, or items that could be subject to inspection may require advance declarations or paperwork. Check airline rules for advance notice and packaging requirements. Also verify customs rules for both departure and arrival: some items can trigger customs or quarantine inspection on arrival, so have invoices or ownership documentation handy if applicable. Always confirm these requirements on the airline and airport pages before traveling.
Final decision note
Planning Seoul to Tokyo flights with extra luggage is about matching routing to baggage reality and giving yourself enough airport time. Prioritize itineraries that minimize handling—direct flights or single-ticket connections—unless schedule constraints make a connection unavoidable. Before you click book, gather precise passenger and baggage details, check the airline’s final booking page for baggage inclusions and fees, and add a sensible buffer to your airport arrival and transfer windows. With those checks in place you’ll reduce surprises at check-in, lower connection risk, and have clearer expectations for how your bags will move across the route.
Continue planning
Check current options and final conditions
Use the provider page to confirm live availability, the final total, cancellation terms, and every condition that matters to your trip.
This evergreen planning guide was created with AI-assisted drafting and a structured quality review. It does not display live prices, schedules, availability, visa guidance, or provider rankings. Verify current details before booking. Some links are affiliate links; we may earn a commission at no additional cost to you.