Practical answer first: before you book Tokyo to Sapporo flights with more than standard carry-on, gather exact travel dates, the number and weight of each piece of luggage, the number of checked bags included in fares, and whether you’ll accept a connection. With those details in hand, compare three core tradeoffs: a direct flight that may charge extra for heavy bags, a connecting itinerary that risks missed connections but can lower base fare, and an alternative airport or time that changes baggage rules. This article gives a focused, step-by-step checklist and explains how to weigh routing, baggage rules, connection risk, schedule fit, and fare conditions so you can pick the option that minimizes surprises at check-in and arrival.

See live routes for your exact travel day
Compare direct and connecting choices with the same baggage and traveler details.
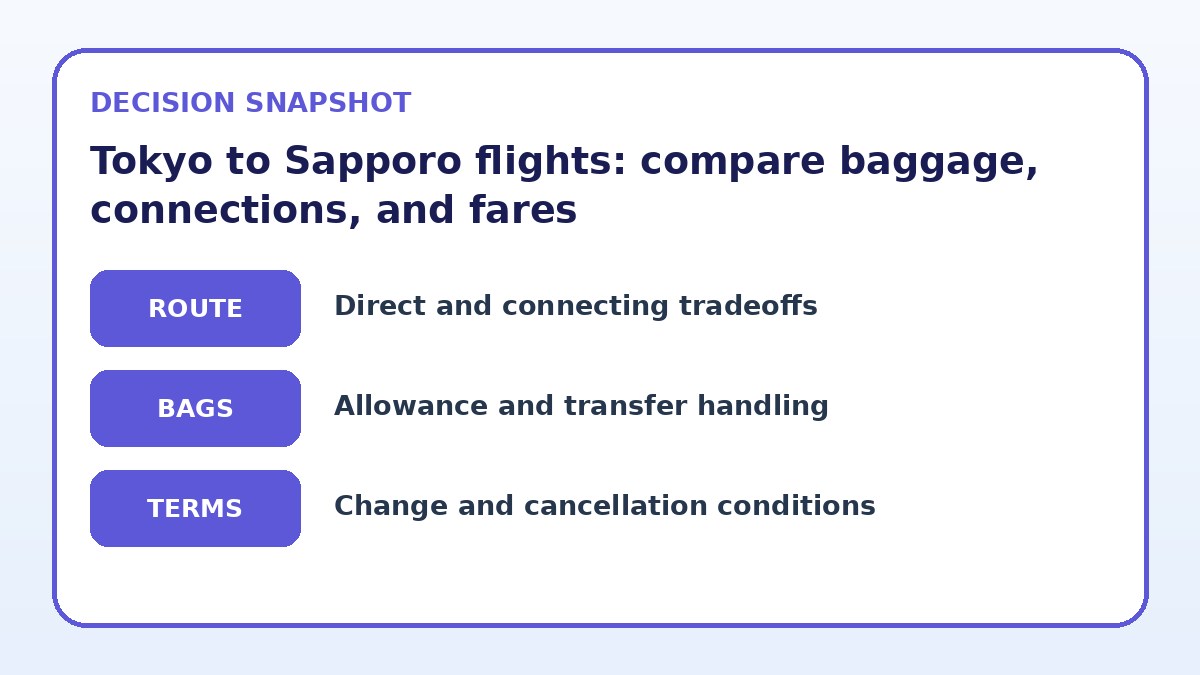
Routing: direct versus connecting options
Start by listing the types of routing available for Tokyo to Sapporo flights: nonstop flights between metropolitan airports, itineraries with one connection, and mixed-airport routes where your origin or destination terminal changes. For travelers with extra luggage, the primary routing question is whether to prioritize a nonstop to reduce handling and transfer risk, or accept a connection if it yields a fare that, even after baggage charges, is still cheaper. Nonstops reduce the number of times baggage is handled and the chance of misconnects, but they often come with fewer fare options and stricter cabin/hold limits on budget-oriented services.
When evaluating connecting options, identify the transfer airport and whether you change terminals or re-check baggage. A single-carrier connection generally keeps checked baggage on the same ticket, which is safer for larger loads. If the connection requires changing airlines or collecting and rechecking baggage, factor in the extra time and potential fees. Create a shortlist of candidate routings and mark which ones promise through-checked baggage and which require self-transfer—those details will inform how large a time buffer and how much carry-on versus checked capacity you should plan.
Baggage allowances and the real cost of extra luggage
Treat published base fares as a starting point and compute the true trip cost by adding documented baggage fees. Airlines and fare classes vary: some include one or more checked pieces in the ticket, others charge per bag or by weight. For heavier or oversize items—sports gear, instruments, or multiple large suitcases—check whether the airline accepts those items, whether they count as checked pieces or oversized charges, and what the maximum weight per piece is. If you must ship very large items, compare the airline’s excess/oversize fees against freight/shipping options.
When comparing options, write down bag allowances for each segment and the airline’s official size/weight limits, then calculate the total baggage charge for the entire itinerary. If you’re comparing a direct flight that includes one checked bag versus a multi-segment ticket where each segment charges separately, the multi-segment route can become significantly more expensive in practice. Look specifically for language about interline transfer of baggage and whether the fare is eligible to check through; verify these conditions on the airline’s final booking page before you commit.
Compare flight-selection strategies
| Flight strategy | Best for | Risk to check |
|---|---|---|
| Direct nonstop flight | Minimizing transfer risk and handling of checked luggage | Often higher base fare with potentially stricter baggage rules or fewer included checked pieces |
| Single-carrier connection | Lower fares while keeping baggage checked through on one ticket | Still adds handling and delay risk, and fees may apply per segment depending on fare class |
| Multi-airline or self-transfer routing | Access to more schedule/fare combinations or lower advertised fares | Requires collecting and rechecking bags; higher chance of missed connections and extra fees |
| Flexible / higher-tier fare | Changeable plans and potential baggage waivers for status holders | Higher upfront cost but can save on change fees and unexpected baggage-related charges |
Recheck the complete itinerary
Confirm airports, connection handling, baggage, and change conditions before deciding.
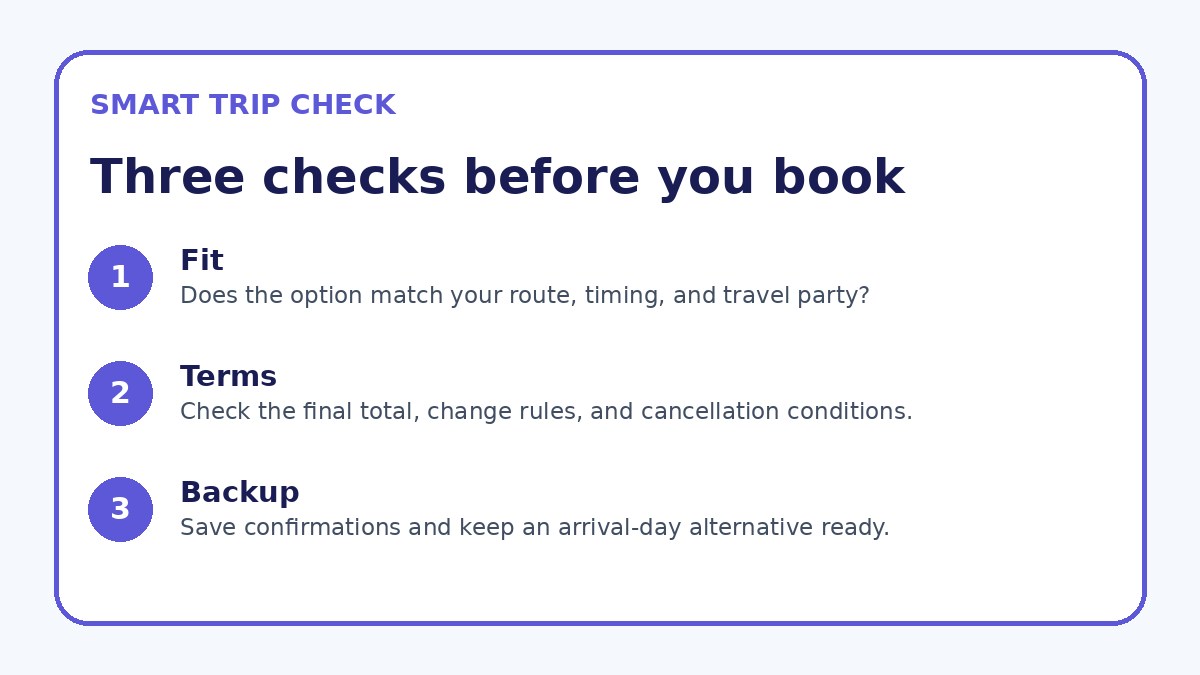
Connection risk and schedule fit for larger luggage
Connections increase the operational risk for travelers with extra luggage because each transfer raises the chance of delay or mishandled baggage. When your bags are checked through on the same ticket, carriers usually transfer them automatically, but transits requiring the passenger to collect and recheck bags add time and complexity. Build your timing around realistic transfer needs: allow extra time for immigration or security if applicable, luggage unloading and re-check, and a margin for minor delays. If you need to guarantee arrival time at your destination, a longer connection buffer or a direct flight may be worth the premium.
Consider your tolerance for tight schedules and whether you can travel with carry-on-only for essential items. If your itinerary includes a short connection and you cannot carry everything on, choose a longer layover or the nonstop. Also check each carrier’s minimum connection times and the airport layout—some terminals require shuttle transfers or long walks. On the booking page, verify whether the itinerary is on a single ticket and whether the airline lists baggage through-check; these are the points that reduce connection risk for large luggage.
Flight details to verify
- Record exact travel dates, preferred departure and arrival airports, and the number and detailed weights/dimensions of each bag before price-checking.
- For every candidate itinerary, note the fare class and then check the airline’s final booking page for per-segment baggage allowances, weight limits, and oversize fees.
- Confirm on-ticket baggage handling: verify whether checked bags are transferred automatically on connections or must be collected and rechecked.
- If you have oversized or special items, ask the airline about acceptance rules and required pre-notification; get any special handling confirmation in writing or on the booking page.
- Build time buffers: add at least one additional hour beyond minimum connection time for layovers that involve changing terminals or rechecking luggage.
- Before final purchase, ensure the fare’s change and cancellation terms are acceptable and that any frequent-flyer or elite benefits (like free checked bags) are applied on the checkout page.
Fare conditions, change flexibility, and final verification
Before finishing a booking, read the fare conditions for changes, cancellations, and baggage rules on the carrier’s official booking page. Fare classes determine whether you can modify dates, change passenger names, or recover fees for involuntary schedule changes. For travelers with extra luggage, flexible fares or higher-tier tickets can be worthwhile because they avoid change penalties if plans or flights shift. However, each carrier phrases baggage inclusion differently—even refundable fares sometimes exclude additional checked pieces—so verify the exact baggage allowance on the final purchase screen.
If you book through an online travel agency or aggregator, use it for initial comparison but always click through to the airline’s official checkout to confirm baggage allowances, seat selection fees, and connection handling. On that final page, check the baggage fee calculator, the precise weight and dimension limits, and any carrier-specific rules for oversized or special items. If you plan to use a frequent flyer number, ensure it is applied and that the fare is eligible for accrual; this matters for elite baggage waivers and excess allowance perks provided by status.
Flight Guide questions travelers ask
How do I calculate whether a connecting itinerary is actually cheaper once baggage fees are included?
Start with the advertised base fare for each itinerary and list baggage fees published on the airline’s official baggage page for every segment. Multiply per-segment checked bag fees by the number of segments where they apply and add any oversize or overweight surcharges you expect. Also include costs for required seat selection or priority boarding if those reduce connection risk. Compare the sum for direct and connecting options. If an itinerary is sold by different carriers on separate tickets, include potential recheck fees or ground transport costs should you need to switch terminals.
What minimum connection time should I allow when I have heavy or multiple checked bags?
Minimum connection times published by carriers reflect operational limits, not comfort. For checked luggage, add at least one full hour beyond the operator’s minimum for domestic connections that stay within the same terminal; if you must change terminals, collect and recheck bags, or pass through additional security, add two hours. Tailor the buffer to the airport size and whether you’re traveling during peak times. If your itinerary mixes carriers or requires separate tickets, expand the buffer further because you may need to retrieve and recheck baggage or clear ticketing counters.
If I need to transport oversized sports equipment, where should I verify rules and fees?
Oversized and special-item rules vary by carrier and sometimes by route. On the airline’s official site, find the special items or sports equipment policy and note booking or advance-notification requirements, maximum accepted dimensions and weights, and the specific handling or oversize fees. If the policy isn’t clear, call the airline’s baggage or reservations desk and get the representative to confirm acceptance for your route and dates; note the agent’s name and any confirmation number. Compare this with the cost and delivery time of shipping the item separately if airline fees are high or acceptance is uncertain.
Final decision note
When you travel Tokyo to Sapporo with extra luggage, the right choice depends on a small set of verifiable facts you must gather before booking: exact bag counts and weights, whether you prioritize a nonstop or accept a connection, and the fare conditions that affect changes and baggage handling. Use the checklist to collect these facts, compare the true end-to-end cost of competing itineraries, and verify baggage transfer and fees on the airline’s official booking page. If you use an OTA for initial searching, always confirm allowances and fare rules on the carrier checkout. That disciplined approach reduces surprises at check-in and helps you choose the route that fits your schedule, budget, and luggage needs.
Continue planning
Check current options and final conditions
Use the provider page to confirm live availability, the final total, cancellation terms, and every condition that matters to your trip.
This evergreen planning guide was created with AI-assisted drafting and a structured quality review. It does not display live prices, schedules, availability, visa guidance, or provider rankings. Verify current details before booking. Some links are affiliate links; we may earn a commission at no additional cost to you.