If you’re traveling solo from New York City to Toronto, the practical priorities are simple: travel light where possible, pick the baggage approach that matches your comfort with airport time, and plan your arrival buffer for cross-border formalities. For most solo travelers, a carry-on plus a personal item will save time, but checked luggage can make life easier if you need extra clothes or gear. Canadian entry and U.S. exit processes, plus busy security lines, mean airport arrival times should be tailored to whether you check a bag and whether your ticket is direct or connects. Read on for clear decision criteria, tradeoffs, and a checklist so you can finalize packing and arrival times with confidence before you book or head to the airport.
See current options before you compare the details
Availability and final conditions change. Open Trip.com now or keep reading for the practical comparison.
Choosing carry-on versus checked luggage
Deciding between carry-on only and checking a bag is the first packing choice every solo traveler must make. Carry-on only minimizes time at both airports: you skip the check-in counter, breeze through baggage claim at the destination, and eliminate the risk of a delayed bag. However, packing light means sacrificing outfit variety and any bulky items such as winter coats, boots, or sports equipment. If your trip is short and you can re-wear clothing or use quick-dry fabrics, a well-packed carry-on can keep you moving faster through New York and Toronto airports.
Checked luggage adds convenience when you need more than a single bag can reasonably hold, or when you prefer not to manage a wheeled bag through public transit and stairs. The tradeoff is time: plan extra minutes for bag drop before security and for waiting at arrivals to collect luggage. If you check a bag, allow extra buffer for the drop-off queue and potential additional screening. Also consider the airline’s baggage allowance and fees: verify these on the airline’s final booking page so you aren’t surprised at the airport.
Setting your airport arrival window
How early you should arrive depends on baggage choices, whether your flight is direct or connects, and whether you are flying from LaGuardia, JFK, or Newark. For carry-on only on a direct international flight, many solo travelers find arriving 90 minutes before departure sufficient if they have a mobile boarding pass and no special assistance is needed. That gives time to clear security and reach the gate with a small margin for minor delays. If you use airline or priority lanes, factor how much time those lines typically save versus standard security queues.
When you check baggage, add 30 to 60 minutes to that window to handle the check-in and bag drop process—longer during morning and evening peaks or holiday periods. Connecting flights require a larger cushion: if you must change terminals or re-clear security or customs, build in the minimum connection time recommended by the airline plus extra time for unexpected delays. Always confirm the airport terminal and recommended arrival advice on your carrier’s booking page, and consider transit time to the airport from your NYC location so you leave with a realistic margin.
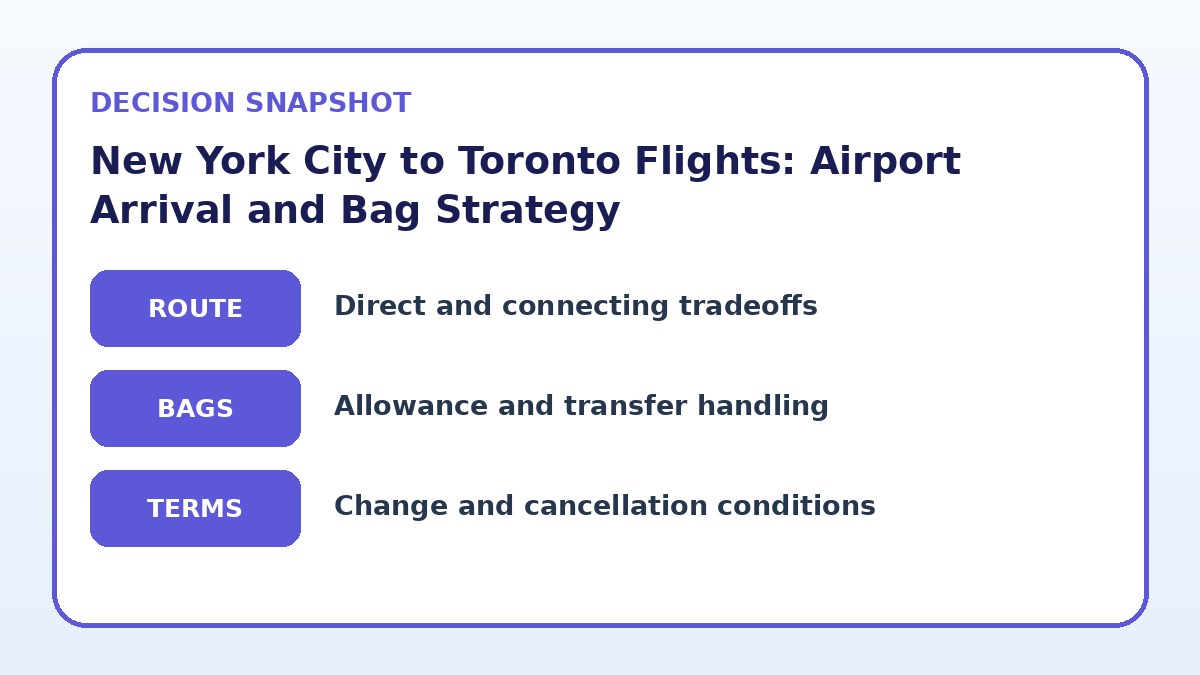
| Approach | Best for | Tradeoff to check |
|---|---|---|
| Carry-on only | Short trips, tight airport timing, and minimizing wait at arrival | Limited clothing and gear; stricter packing discipline required |
| Checked luggage | Longer stays or trips needing bulky items and extra outfits | More time at check-in and baggage claim; possible extra fees |
| Direct flight with no connections | Simpler planning and less risk of missed connections | May be more expensive or have fewer scheduling options |
| Connecting itinerary | More schedule flexibility and potentially more routing options | Requires larger time buffers and careful transfer planning |
Ready to check the option that fits your plan?
Use your exact dates and traveler details so the provider page can show the current total and conditions.
Border formalities and passport control timing
Flying between New York City and Toronto involves border control steps that affect your airport timing. If your flight arrives in Toronto from a U.S. origin, at minimum you’ll need to present travel documents and may be subject to standard entry questions and inspection. Some airports and airlines support pre-clearance or expedited entry programs; check whether pre-clearance is available on your itinerary. For departures from the U.S., ensure your passport or travel documents are valid and accessible, and factor time for possible additional screening related to international travel.
If you hold dual citizenship, permanent residency, or special entry status, bring supporting documents and know whether to use automated kiosks or speak with an officer. For solo travelers unfamiliar with Canadian or U.S. border procedures, arrive earlier rather than later—border lines can be unpredictable. Verify any required travel authorizations or forms on official government sites and confirm if your airline requires proof of authorization during check-in; when in doubt, add another 30 minutes to your pre-flight buffer to handle an unexpected document check.
Before you book
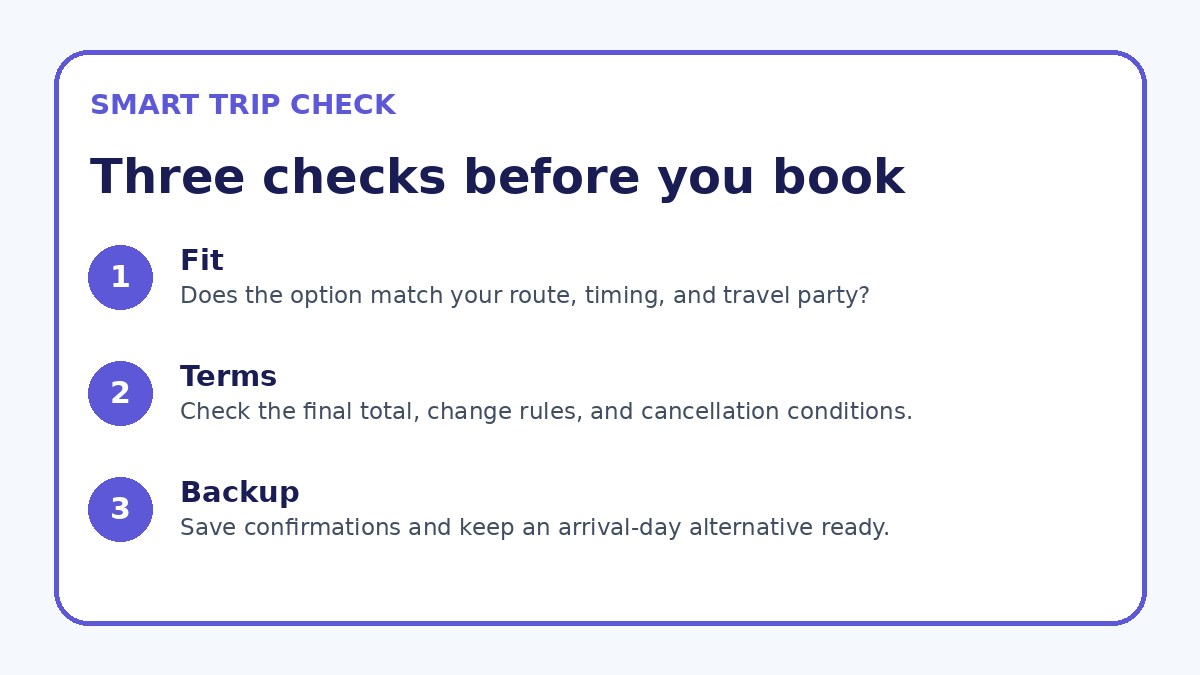
- Check your airline’s baggage allowance and fee policy on its final booking page before you pack or pay for extras.
- Decide carry-on only or checked bag and build airport arrival time: add 30–60 minutes when checking luggage.
- Confirm your departure terminal in NYC and the arrival terminal in Toronto, and map the quickest transit route to your chosen NYC airport.
- Complete online check-in as early as available and save a mobile boarding pass to your phone.
- Organize liquids, electronics, and travel documents in an easy-to-reach compartment to speed security and border checks.
- Re-check flight status and terminal/gate info within two hours of departure and verify any entry requirements on official sites.
Streamlining the airport experience as a solo traveler
A few practical habits reduce stress and time in airports. Register online and check in via the airline app as soon as online check-in opens; download or save your boarding pass to your phone. If you’re checking a bag, print or prepare any required baggage tags and arrive at bag drop with your ID ready. Pack liquids and electronics where you can reach them for security screening to avoid delays, and wear shoes and clothing that are easy to remove if a security line looks long.
Consider upgrades that directly save time: priority security lanes, premium check-in, or pre-paid baggage can be worthwhile on tight schedules. Use transit options that reliably get you to the terminal with a consistent buffer—factor rush hour in New York and potential weekend transit service changes. Finally, before you leave for the airport, re-check flight status and terminal information on the airline’s booking page or a trusted aggregator like Trip.com so you have the latest gate and timing information.
Frequently asked questions
How much time should I allow at the New York airport if I only have a carry-on?
If you’re traveling solo with carry-on only on a direct flight, many travelers aim to arrive about 90 minutes before departure. This allows time to clear security and reach your gate with a modest buffer. However, if you’re flying during known peak times, using a busier airport terminal, or prefer extra cushion, add another 15–30 minutes. Always confirm the airport terminal and any airline-specific check-in recommendations on the airline’s booking page before you leave.
When should I check a bag instead of using a carry-on for New York City to Toronto?
Check a bag when your trip requires bulky items, you need more clothing than a carry-on allows, or you want to avoid hauling luggage on transit and stairs. Also consider checked luggage if you’re transporting sports equipment or shopping on return. Balance this choice against the extra time required at check-in and baggage claim, and verify baggage fees and size limits on the airline’s final booking page to avoid surprises at the airport.
Do I need extra time for customs and immigration when flying into Toronto from NYC?
Yes — border formalities can add unpredictable time, particularly during peak arrival windows. If your flight includes pre-clearance in the U.S., you may clear Canadian entry before departure; otherwise expect standard customs processing upon arrival. If you’re unsure whether pre-clearance applies to your flight, check your airline itinerary and government entry guidance. For solo travelers unfamiliar with the process, allow extra time in your schedule to avoid stress at arrival.
Final planning note
Organizing baggage and airport time for a solo trip from New York City to Toronto is about matching your luggage choices to the schedule and your tolerance for airport wait times. Travel light with a carry-on if you want speed and simplicity; choose checked baggage when you need extra gear or comfort, and accept the added minutes at drop-off and claim. Always confirm baggage allowances, terminal information, and any border or airline-specific instructions on the carrier’s booking page before you travel. With a clear decision on bags, a realistic arrival buffer, and a short checklist, you’ll reduce uncertainty and make the journey smoother.
Continue planning
Check current options and final conditions
Use the provider page to confirm live availability, the final total, cancellation terms, and every condition that matters to your trip.
This evergreen planning guide was created with AI-assisted drafting and a structured quality review. It does not display live prices, schedules, availability, visa guidance, or provider rankings. Verify current details before booking. Some links are affiliate links; we may earn a commission at no additional cost to you.