Practical answer up front: if you have extra luggage, choose the route and combination of rail, coach, ferry, or car that minimizes terminal transfers and door-to-door handling, then book options with generous baggage allowances or easy curbside drop-off. Prioritize picking a departure and arrival pair that places you close to your start or end address to cut local transfers. On the travel day, pack a plain overnight bag with essentials, label every piece clearly, and plan realistic windows for border checks and boarding. Expect added friction when moving between terminals or modes—each transfer multiplies the effort of heavy bags. Below I walk through how to compare modes for luggage fit, minimize transfer friction, build timing flexibility into your plan, and set practical disruption backups so you can choose the smoothest door-to-door option for your needs.
Choosing between rail, coach, ferry, or driving
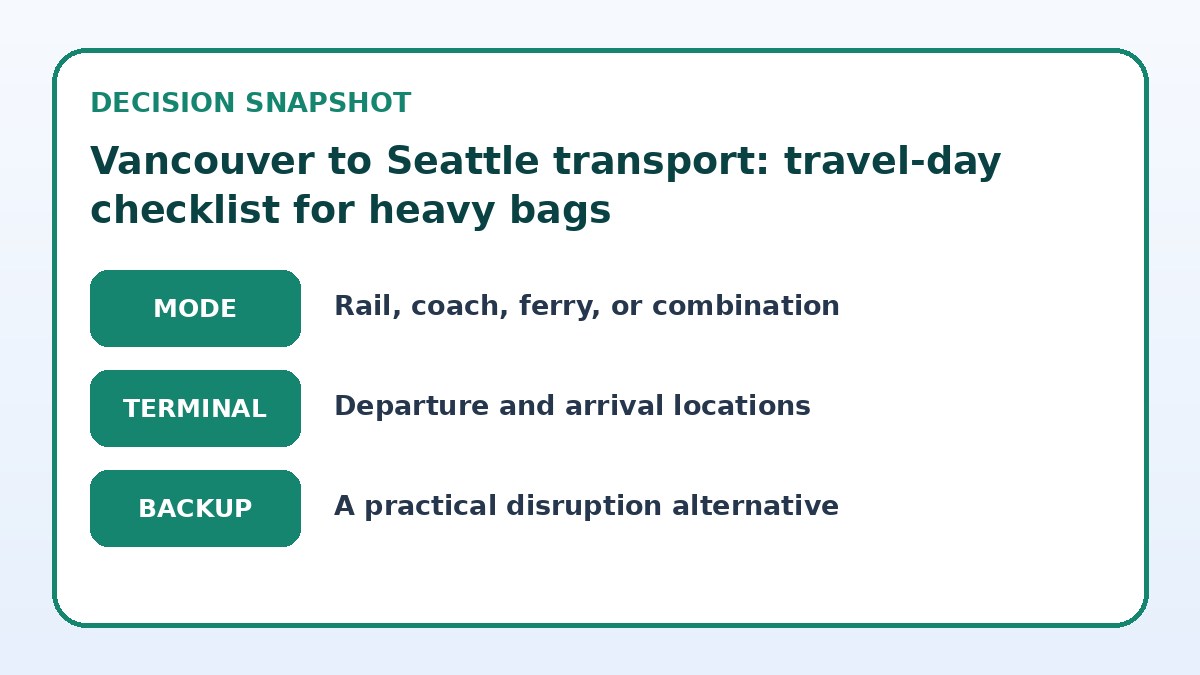
When deciding which mode to use, start by mapping where you need to be in Vancouver and Seattle and how each terminal sits relative to those addresses. A train or coach that departs from a central station may save a local transfer, while a ferry or driving route might be best if you need to move bulky or awkward items that won’t easily fit in underfloor bays or luggage racks. Think in terms of door-to-door time and handling steps: a longer uninterrupted ride with fewer handoffs can be preferable to a shorter trip that requires multiple transfers with heavy bags.
Next, compare the physical fit and rules for luggage on each mode. Trains usually have luggage areas and room for carry-on bags; coaches have large bays but strict loading procedures; ferries often accept vehicles and large items with less restriction; driving avoids baggage rules but exposes you to driving fatigue and potential parking or toll considerations. For each candidate route, check the operator’s final booking page to confirm baggage allowances, maximum dimensions, whether you can reserve extra space, and where your luggage will be stored during the journey.
Choose the end-to-end journey plan
| Journey approach | Best for | Friction to check |
|---|---|---|
| Choose a single-mode direct departure (train or coach) | Travelers who want fewer handoffs and predictable onboard luggage storage | May require compromising on origin or arrival proximity to your door |
| Drive or rideshare door-to-door | Large, heavy, or awkward loads needing minimal handling | Adds responsibility for border driving, parking, and possible tolls or ferry arrangements |
| Ferry plus local transfer | Those transporting oversized items or vehicles with minimal size limits | Embarkation and vehicle deck handling adds steps; terminal access matters for final leg |
| Mixed-mode with pre-booked luggage assistance | Travelers balancing convenience with capacity who can arrange help in advance | Requires coordination and often prior requests; more moving parts to manage |
Check live intercity options
Look beyond the ride itself and compare terminals, transfers, luggage, and arrival fit.
Terminal fit and reducing transfer friction
Terminal layout and proximity can make or break a travel day with extra baggage. Choose departures and arrivals where the station or terminal entrance is close to transportation options—taxis, rideshares, or short shuttles—so you avoid lengthy walks and staircases with heavy suitcases. If the terminal has elevators and escalators noted on its site map, favor that option; if not, plan for alternative pickup or delivery points where vehicle access is easier. Also consider baggage handling services, luggage carts, and whether stations permit curbside loading—these small conveniences cut transfer time and effort.
If your plan includes switching modes mid-route, schedule generous connection windows. Even a short transfer can become arduous with oversized bags, so allow extra time to disembark, maneuver to the next platform or stop, and check in. For complicated transfers, book help in advance: porter services, pre-arranged rideshare pickups, or luggage transfer companies if available. Verify on booking pages whether carriers allow early check-in, luggage check-through, or assistance at either end—these services frequently require advance requests or fees, and policies change so confirm before you finalize plans.
Timing flexibility and planning for border checks
Crossing the Canada–U.S. border adds unpredictability: inspection times vary with time of day, day of week, and seasonal traffic. Build buffer time into your itinerary rather than cutting it tight. If you travel midweek or outside peak hours, waits may be shorter, but do not rely on that—always plan at least one extra hour beyond the operator’s scheduled run time to account for processing. Choose departure windows that leave room to recover from delays without missing critical commitments at your destination.
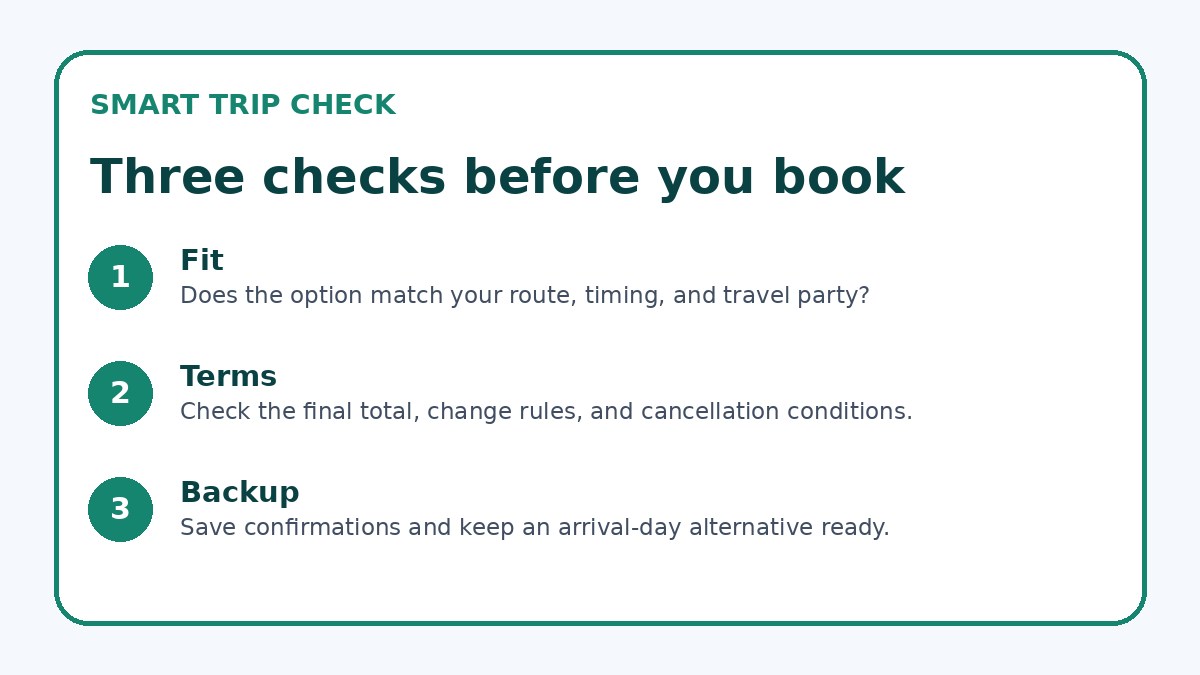
When booking tickets, prefer refundable or changeable fares if your timing needs to stay flexible; verify the provider’s change policy on the booking page. For scheduled services, arrive early to secure space for your luggage and to complete any required customs pre-clearance procedures. Carry printed or screenshot copies of booking confirmations, ID, and any required documentation to speed inspections. Anticipate that heavy bags slow you down; fewer tight connections reduces stress and the chance you’ll need to rebook mid-route.
Compare the practical alternatives
Use the final page to confirm what is actually offered on your dates and save a workable fallback.
Intercity travel checklist
- Measure and photograph every bag; note dimensions and weight to verify against carrier baggage rules before booking.
- Reserve a pickup or drop-off point with easy curb access at both origin and destination to avoid stairs or long walks.
- Pack a small accessible carry bag with documents, medications, a change of clothes, and chargers to keep on you during transfers.
- Confirm baggage policies and any required advance requests on the provider’s final booking page, including limits and assistance options.
- Build at least one hour of buffer into your schedule for border processing and an extra connection window for each transfer.
- Identify and save contact numbers for alternative services (later departures, rental, local courier) to use quickly if your plan changes.
Disruption backup: contingency plans that protect heavy luggage
A solid backup plan keeps your luggage and schedule intact if something goes wrong. Identify alternative nearby departures for the same day (later trains or coaches, ferry slots, or a rental car) and note how each option handles baggage. If you can’t get the same mode, a rideshare or courier service that can carry large items to your destination might be the simplest fix. Pre-booking a local self-storage or luggage holding service near your arrival point can also free you to reach an appointment without dragging everything along if an unexpected delay arises.
Also create a prioritized list of items to keep with you versus what can be delayed in transit. Pack medications, essentials, a change of clothes, chargers, and important documents in a small carry bag you never check. For valuables or fragile items consider shipping them ahead by a reputable courier—confirm pickup windows and customs requirements on the carrier’s site. Finally, keep digital copies of ID and receipts and have emergency contacts for local support: local hotels, luggage movers, or consular contacts if you encounter cross-border paperwork problems.
Rail & Intercity Transport questions travelers ask
Can I check large suitcases on trains and coaches between Vancouver and Seattle?
Policies vary by operator. Some trains have dedicated luggage racks and allow checked oversized suitcases; coaches often use underfloor bays. Do not assume universal allowances—before you book, check the carrier’s final booking page for maximum dimensions, weight limits, whether you must label or register bags, and whether there are additional fees or advance reservations for oversized items. If the operator offers luggage assistance or express check-in, arrange it in advance to minimize time handling heavy bags on the travel day.
Is driving a rental car better than public transport when carrying extra luggage?
Driving gives you maximum control over handling, timing, and door-to-door delivery, which helps with oversized or awkward items. However, driving brings border crossing responsibility, potential parking challenges at your destination, and the physical burden of loading and unloading. Compare the convenience of fewer handoffs against the fatigue and logistics of driving; if you choose a rental, verify return locations, cross-border permission, and insurance coverage on the rental company’s booking page before you commit.
How should I prepare for customs and immigration when traveling with a lot of luggage?
Have all identification and travel documents easily accessible and keep them with your carry-on. Be prepared to declare items and provide receipts for high-value goods; pack invoices or proof of purchase if necessary. For smoother inspections, organize bags so you can quickly access the contents customs officers commonly ask about. Check the official border agency websites and the transport provider’s booking page to confirm any forms or pre-clearance options you can complete ahead of travel, and allow extra time in your schedule for potential inspections.
Final decision note
When you travel from Vancouver to Seattle with extra luggage, the safest approach is to choose the option that minimizes handling and keeps your route as close to door-to-door as possible. Compare modes not only by ride comfort but by terminal access, baggage rules, and transfer complexity. Build time buffers for border checks, arrange assistance or curbside loading where available, and pack a prioritized carry bag so essentials stay with you. Finally, confirm all baggage policies and booking conditions on the provider’s final page before purchase, and save backup options in case the travel day changes. With a practical plan and contingencies in place, you’ll reduce stress and keep your journey running smoothly.
Continue planning
Check current options and final conditions
Use the provider page to confirm live availability, the final total, cancellation terms, and every condition that matters to your trip.
This evergreen planning guide was created with AI-assisted drafting and a structured quality review. It does not display live prices, schedules, availability, visa guidance, or provider rankings. Verify current details before booking. Some links are affiliate links; we may earn a commission at no additional cost to you.