First hour after landing: decide how you’ll get from Vancouver International Airport (YVR) to your accommodation while you still have flight and hotel details available. For a solo traveler the priority is clarity—where exactly the driver will meet you, how they’ll identify you, and how luggage and timing affect the plan. If you already booked a private transfer, shared shuttle, rideshare, or public transit, confirm the pickup meeting point, contact method, and the provider’s late-arrival policy right away. If you haven’t booked, use this time to compare whether a booked transfer reduces stress for your arrival window or whether you’d prefer the flexibility and cost savings of transit or a rideshare. The practical answer: verify meeting point, contact info, luggage allowances, surge or night policies, and a straightforward backup route before you land; the rest of this guide explains tradeoffs and how to check each detail confidently.
Check options for your arrival details
Use your flight, luggage, party size, and accommodation address to compare current choices.
Luggage and party-size: match vehicle capacity to your bags
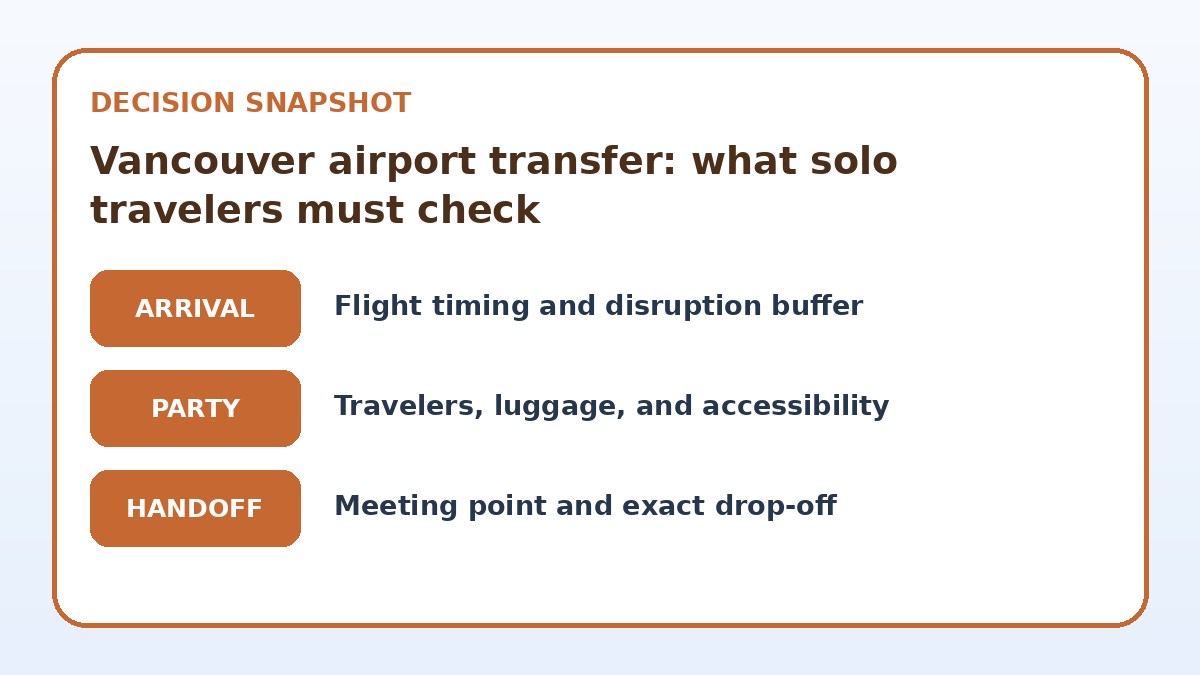
Solo travelers often underestimate how much space luggage takes and how that affects pickup instructions. Whether you have just a carry-on or several checked bags, the right transfer should specify vehicle type or maximum trunk/boot space. When booking, check the transfer’s vehicle class and explicitly note the number and size of your pieces. If the provider offers a small car for a solo passenger but you have two large suitcases and a backpack, request an upgrade or choose a different service to avoid surprises at the curb.
At the airport, make your first call or message about five to ten minutes before you leave the arrivals hall so the driver can position the vehicle and avoid unnecessary circling. If you’re using a rideshare, expect drivers to indicate if they cannot take extra luggage; consider a larger vehicle option in the app. For transfers with a specified meeting point, double-check whether the instruction refers to a specific door, curb lane, or named meeting spot inside the terminal to avoid missed pickups.
Arrival details to have ready
- Save the transfer provider’s phone number and your booking confirmation where you can quickly access them after landing.
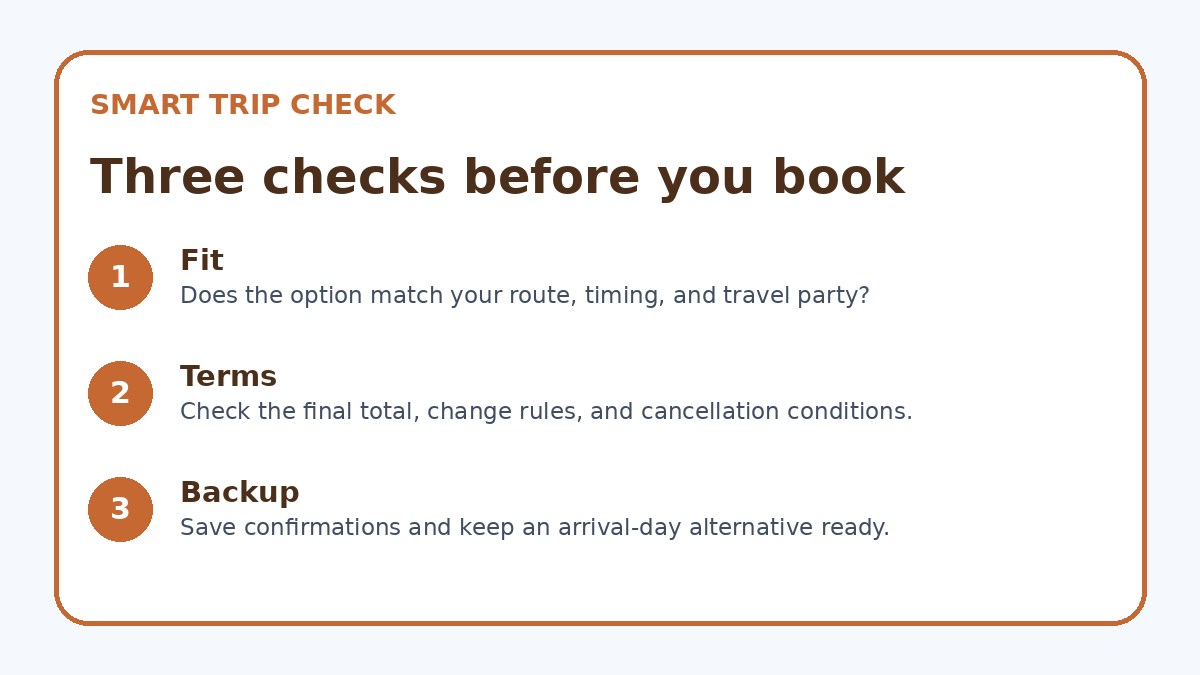
- Confirm the exact meeting point with terminal level, door/curb identifiers, and any nearby landmarks before you disembark.
- List the number and size of your luggage on the booking and request a larger vehicle if you’re near or over standard capacity.
- Note the supplier’s grace period for delayed flights and how to notify them if your arrival time changes.
- Have a verified backup plan: local taxi stand location, SkyTrain route, or nearest bus line and schedule.
- Send your accommodation address and any access instructions to the transfer operator so drop-off is accurate and efficient.
Late or disrupted arrivals: verify delay and cancellation policies
Delays happen, especially with international flights or tight connection times. Before you finalize a booking, read the provider’s policy on delayed arrivals: how long they will wait, whether they charge a late fee, and how to notify them. If you’re booking through a third-party platform or a prearranged shuttle, save the booking confirmation and the provider contact in an easily accessible place—your phone home screen, a screenshot, or email starred—so you can reach them while in the airport. A clear policy and a reachable contact reduce the chance of being left waiting outside the terminal.
If you expect an uncertain arrival, prefer suppliers that explicitly list their grace period and have a 24/7 contact method. For rideshares, accept that your pickup could be delayed or the driver could cancel if your arrival time shifts; have a fallback such as terminal information desks, prepaid taxi stands, or the SkyTrain option. When possible, indicate your new arrival time and flight number to the transfer operator so they can update the driver and avoid unnecessary missed connections.
Match the transfer to your arrival
| Arrival approach | Best for | Detail to verify |
|---|---|---|
| Private prebooked transfer | Solo travelers who prioritize door-to-door clarity and minimal hassle | Typically less flexible with delays and often costlier than shared or public options |
| Rideshare or app-based taxi | Travelers seeking flexibility and quick on-demand pickups | Driver cancellations, luggage limits, and variable pickup zones can complicate arrivals |
| Shared airport shuttle | Budget-minded solo travelers willing to wait for scheduled pickups | Fixed pickup times and multiple stops can extend travel time and require strict timing |
| Public transit (bus + SkyTrain) | Solo travelers comfortable with carrying bags and saving money | Lower cost but requires more walking, transfers, and attention to schedules |
Make the meeting plan clear
Check the final pickup instructions, waiting conditions, and exact drop-off coverage.
Meeting-point clarity: precise directions save time and stress
Vancouver’s terminals and curbside lanes can be confusing if instructions are vague. A good pickup instruction names the terminal building, the door number or letter, the level (arrivals curb or departure curb if applicable), and a nearby landmark like the baggage carousel number or information desk. If the provider uses a code word or sign, confirm exactly what will be on display—driver name, car make and color, or a printed sign with your name. Avoid solely directional cues like 'outside the main exit' because there can be multiple exits; insist on a specific door, lane, or recognizable desk.
Take a screenshot of the provider’s meeting point map if available, or copy-paste the instruction into your notes app with terminal maps. When you clear immigration and baggage, quickly re-open those notes and follow the shortest path to the designated spot. If you cannot find your driver, call the provider immediately; don’t wander too far from the arrivals area because drivers may be waiting in an allowed curb or designated rideshare pickup zone with limited visibility.
Destination-side drop-off: check where you will be left off
Drop-off practicality matters—your accommodation’s street layout, loading zones, and local traffic rules determine how close a vehicle can get. Confirm with the driver or provider whether drop-off will be curbside at your door, at a nearby legal unloading spot, or at the hotel’s passenger drop-off area. If your hotel is on a narrow street or in a pedestrian zone, the driver may have to stop a block away; knowing this beforehand helps you plan how much walking with luggage to expect and whether you should request help with bags.
If you’re staying at a vacation rental, verify the exact address and any building entry instructions the driver needs. Provide reception or property contact information to the transfer operator if the building requires a code or restricted access. For solo travelers arriving late at night, confirm the safest well-lit drop-off point and whether the driver will wait while you check in, or if they must move on immediately due to local regulations.
Airport Transfer & Local Mobility questions travelers ask
How do I find the correct pickup zone at Vancouver airport after a long flight?
First, check your booking confirmation for the provider’s named pickup point and any terminal-specific directions. Vancouver International Airport has clearly signed arrivals halls and designated curbside zones—follow signs to the arrivals level and then to the specific door or numbered lane listed. If directions are still unclear, use the provider’s contact number or the airport information desk to confirm the exact door, curb lane, or rideshare pickup area. Keep your phone available and share your flight number so the provider can track delays.
What should I do if my driver doesn’t show up or can’t be reached?
If the driver is missing, first confirm your arrival on the provider’s live booking page or app and call the contact number on the confirmation. If you cannot reach them, return to an obvious central point like the airport information desk or the designated rideshare/taxi stand and explain your situation. For safety, avoid following unknown claims or accepting unsolicited offers from people in the arrivals area. Have a backup plan—book a taxi from the official stand, use the SkyTrain or bus, or consider a rideshare app pickup—so you aren’t stranded while you resolve the missing prebooked transfer.
Should I prebook a transfer or decide after I land?
Deciding depends on your priorities. Prebooking a transfer gives you a clear meeting point, often reduces stress on arrival, and is useful if you arrive late or with lots of luggage. However, deciding after landing provides flexibility to adapt to delays, choose a cheaper option such as public transit, or pick a rideshare if traffic and demand are normal. If you prebook, verify cancellation, delay policies, and the meeting-point specifics. If you choose after landing, identify the official taxi stand, the nearest SkyTrain station, and the airport rideshare pickup zone in advance so you can move quickly.
Final decision note
For solo travelers arriving in Vancouver, the most practical choice is the transfer option that clearly matches your luggage, timing flexibility, and comfort level with walking or transfers. Before you land, confirm the provider’s meeting-point wording, driver contact method, delay policy, and how close drop-off will be to your accommodation. Keep a simple fallback—airport taxi stand, SkyTrain route, or a rideshare app—and store contact details where you can access them immediately after immigration. Taking these steps turns arrival uncertainty into a short, manageable routine so you can start your Vancouver visit with confidence.
Continue planning
Check current options and final conditions
Use the provider page to confirm live availability, the final total, cancellation terms, and every condition that matters to your trip.
This evergreen planning guide was created with AI-assisted drafting and a structured quality review. It does not display live prices, schedules, availability, visa guidance, or provider rankings. Verify current details before booking. Some links are affiliate links; we may earn a commission at no additional cost to you.