If you’re flying solo between Toronto and Vancouver, the two biggest time drains are baggage decisions and airport timing. Decide early whether you want to travel with just carry-on or check a bag, then match that choice to a planned arrival window at the airport. Carry-on-only saves time at both ends but tight connection margins and strict airline size rules can complicate matters. Checked baggage adds waiting at drop-off and pick-up, and you should factor extra minutes for security lines and potential oversize fees. This article gives a clear decision path: assess your itinerary, weigh convenience versus cost, and set a realistic airport arrival target for departures and connections. It explains tradeoffs, how to compare direct and connecting flights, and what to verify on airline booking pages and at your departure airport.
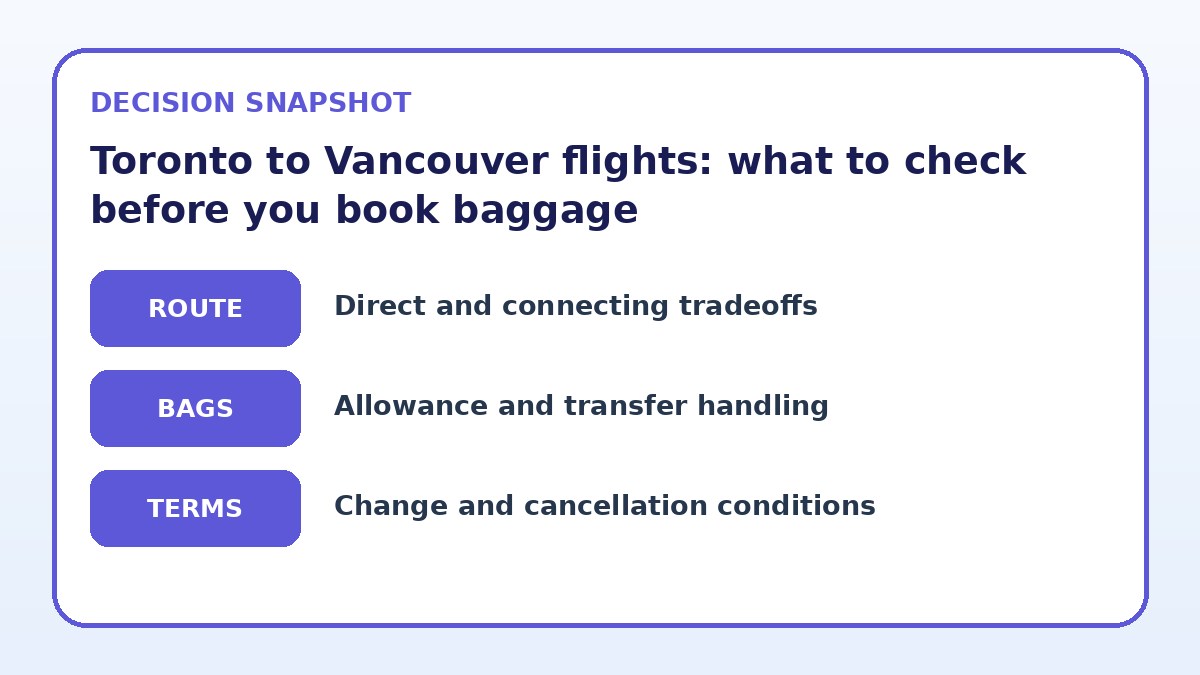
See current options before you compare the details
Availability and final conditions change. Open Trip.com now or keep reading for the practical comparison.
Choose carry-on or checked baggage based on time tradeoffs
Carry-on-only travel is often the fastest option for solo travellers: you skip bag drop lines, avoid baggage claim at your destination, and leave the airport sooner. That speed pays off especially if you’re taking the train or a short ride after landing, have tight onward connections, or simply prefer door-to-door agility. However, the convenience depends on strictly following the airline’s dimensions and weight rules. Airlines often have different size limits for overhead and under-seat bags; check the precise measurements on the final booking page rather than a summary or third-party site.
Checked baggage reduces the stress of packing light but introduces fixed time costs and uncertainty. Expect to arrive earlier for drop-off, and count on wait time at the destination carousel. If your itinerary includes connecting flights, you may need to re-check baggage during a connection or allow time for transfers between terminals. Also consider the content of your bag—bulky items or liquids that exceed carry-on limits effectively force a checked bag. Balance the extra minutes against the convenience of not having to compress or leave items behind.
Set your airport arrival time by flight type and airport factors
Start with the airline’s recommended arrival window, then add buffers for known airport factors. For direct Toronto to Vancouver departures, a common baseline is two hours before domestic flights; add extra time for peak travel periods, unfamiliar terminals, or if you need to check a bag. If you’re flying from Pearson (YYZ) or Billy Bishop (YTZ), check the terminal layout and the distance from curb to security; some terminals are compact and quick, others require longer walks or shuttle rides. Use publicly updated security wait-time monitors where available to tighten or loosen your buffer.
For connecting itineraries, plan arrival at least 90 to 120 minutes before your final departure when making your own plan between flights. Connections within the same terminal require less transfer time than those involving remote gates or a terminal change. If you’re responsible for re-checking bags, include the minimum connection time recommended by the airline and tack on another 20–30 minutes for unexpected delays. When in doubt, choose the longer arrival window; on-time departures don’t eliminate the chance of long security lines or slow check-in.
| Approach | Best for | Tradeoff to check |
|---|---|---|
| Carry-on only | Travelers prioritizing speed and minimal airport time | Limited packing space and strict adherence to airline size rules |
| Checked bag, single direct flight | Those wanting more luggage without transfer complexity | Extra time for drop-off and carousel waiting on arrival |
| Checked bag with connecting flights | Travelers needing more items and flexible flight choices | Higher risk of rechecking, missed connections, and longer layovers |
| Hybrid: carry-on plus a small checked bag | Solo travelers balancing convenience and extra space | Pays time-saving dividends only if bag drop is efficient and baggage claim quick |
Ready to check the option that fits your plan?
Use your exact dates and traveler details so the provider page can show the current total and conditions.
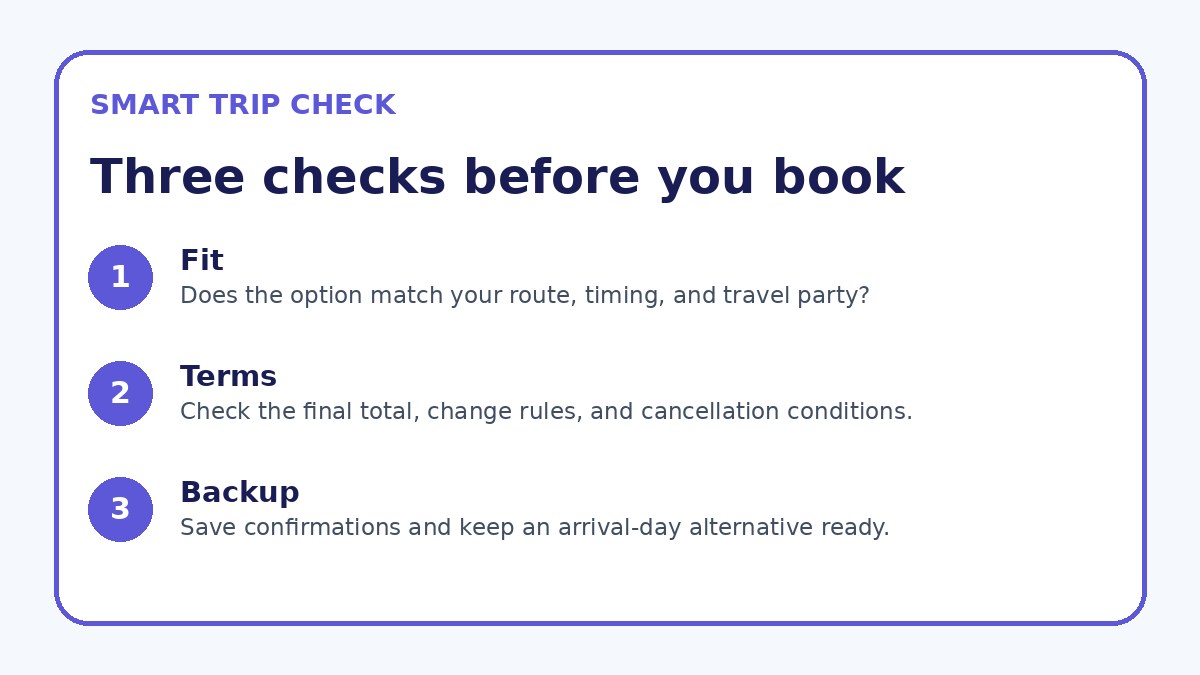
How to compare direct and connecting options as a solo traveller
Direct flights eliminate transfer uncertainty and often save total travel time, which matters most if you’re minimizing airport exposure or tight schedules. But direct options may depart at inconvenient times, have limited baggage allowances, or be priced differently. When reviewing itineraries, compare total door-to-door time, not just duration in the air. Include time saved or lost at both airports for baggage handling and security, and verify baggage transfer rules on the airline’s booking page: it will state whether bags are checked through or must be claimed and rechecked at connections.
Connecting flights can open more scheduling choices and sometimes lower fares, but they require disciplined planning. If you accept a connection, choose longer layovers when you must re-check baggage or change terminals. Consider the airport where you connect — some hubs are designed for smooth transfers while others require long walks, bus transfers, or immigration lines. For each option, write down the checkpoint sequence (check-in, security, gate, re-check) and the estimated minutes at each step, then pick the itinerary where your tolerance for complexity matches the expected time investments.
Before you book
- Check the airline’s exact carry-on dimensions and weight limits on the final booking page and measure your bag at home.
- If checking a bag, arrive at least 45–60 minutes before departure for domestic flights and allow extra at peak times.
- Compare direct versus connecting itineraries by adding gate-to-gate and expected baggage handling minutes to total travel time.
- Pre-check in online and download the boarding pass to your phone; save a screenshot in case airport Wi‑Fi is unavailable.
- Pack liquids and electronics in an easily removable pouch to speed security screening and reduce stress during inspections.
- Note terminal maps and security wait-time feeds for your departure airport and set a personal reminder to leave with your chosen buffer.
Practical packing and timing tactics for smooth solo travel
Pack with output time in mind. Put valuables, travel documents, and a change of clothes in your carry-on so you can continue if a checked bag is delayed. Use a small, easily accessible pouch for liquids and electronics to speed security screening. If you expect to check a bag, choose a bag with a clear exterior pocket for receipts and tags so retrieval at the carousel is faster. Bring a lightweight, foldable tote for last-minute items so you can transfer them between bags without stopping at a counter.
At the airport, work the timeline proactively: check in online and download your boarding pass to reduce kiosk time; photo your baggage tags if offered; and note gate changes as soon as they are announced. If you’re unfamiliar with the departure airport, arrive a bit earlier to find the fastest security lane or use dedicated lines like priority or self-tagging if eligible. Keep screen brightness up and notifications on for airline updates, and verify on the airline’s final booking page whether your fare includes priority check-in or early boarding if those options matter to your plan.
Frequently asked questions
How early should a solo traveller arrive at Toronto for a direct flight to Vancouver?
For a domestic direct flight from Toronto to Vancouver, start with the airline’s recommended arrival time and add personal buffers for baggage and security. A common baseline for domestic departures is two hours before scheduled departure; if you need to check a bag, give yourself additional time for the drop-off line—especially during morning or holiday peaks. If you’re unfamiliar with the terminal layout, or if your gate is in a distant concourse, add 20–30 more minutes. Always verify any special check-in or drop-off deadlines on the airline’s final booking page.
Can I make a short connection if I travel carry-on only between Toronto and Vancouver?
Short connections are easier when you travel carry-on only because you avoid baggage claim and drop-off steps. Still, you must allow time for deplaning, walking between gates, and security re-screening if the airport requires it. Check the minimum connection time suggested by the airline and consider the terminal structure at your connection airport—same-concourse transfers are quicker than those requiring shuttle buses or terminal changes. If the itinerary involves two different carriers, confirm whether a through boarding pass is issued and what transfer procedure applies on the booking page.
What should I verify on the airline or airport pages before I leave?
Before you travel, verify the airline’s baggage allowances (sizes, weights, fees), check-in and bag-drop deadlines, and whether priority lanes apply to your fare class. Look at the departure airport’s current security wait-time estimates and terminal layout maps so you can plan your arrival and gate transfer route. For connecting flights, confirm whether baggage is checked through or must be reclaimed and rechecked during the layover. Trip.com or similar services can show real-time options, but always confirm final baggage and check-in policies directly on the airline’s official booking page.
Final planning note
Organizing baggage and airport time for a solo Toronto to Vancouver trip comes down to one clear trade: reduce time in airports by travelling carry-on only, or accept added minutes for the convenience of checked luggage. Compare itineraries by folding realistic estimates for check-in, security, and baggage handling into total travel time rather than focusing only on airborne duration. For connections, allow extra margin when baggage re-checks or terminal changes are required. Always confirm carry-on measurements, checked-bag rules, and check-in deadlines on the airline’s final booking page before you leave, and factor in airport-specific wait times so your schedule remains practical and low-stress.
Continue planning
Check current options and final conditions
Use the provider page to confirm live availability, the final total, cancellation terms, and every condition that matters to your trip.
This evergreen planning guide was created with AI-assisted drafting and a structured quality review. It does not display live prices, schedules, availability, visa guidance, or provider rankings. Verify current details before booking. Some links are affiliate links; we may earn a commission at no additional cost to you.